Javascript
Javacript is the programming language of the web. It is the way how you tell computers what to do. There are many different programming languages such as Ruby or Python, but Javascript is the only one that runs on browsers.
With Javascript you can start doing pretty much anything from small features to large games. Today, we are using it to change the content and look of your page without reloading it.
Adding Javascript code to a html page
Create a new file called main.js in the same directory and add the following code there:
alert('My javascript is working');
Next, we need to bring this javascript to your page by adding the following script element within the head element in the pictures.html file.
<script src="main.js"></script>
Now, every time you reload the page, you will see an alert pop up. This way we can quickly verify that the javascript file is being loaded correctly. Once you see the alert, feel free to remove the alert line from the file, but do not remove the file. We’ll use this file for coding later.
Adding interaction
We can already start coding in the main.js file, but lets first look for more powerful tools. jQuery is a library that helps us modify the content and style of our webpage. You can include it by adding the following line before the script element you added just previously.
<script src="https://code.jquery.com/jquery-3.0.0.min.js"></script>
First add a new class into your css file that doubles the size of any element:
.big-photo {
  transform: scale(2.0, 2.0);
}
We have multiple ways of making an element larger, but let’s use the ‘scale’ function, which increases the size of the picture. The numbers in the brackets determine how much the size increases (or decreases!). You can experiment what happens with different numbers.
Now lets add a javascript function which adds or removes this css class.
function expandPhoto(element) {
  if ($(element).hasClass('big-photo')) {
    $(element).removeClass('big-photo');
  } else {
    $(element).addClass('big-photo');
  }
}
The code may look like complicated magic, so lets break it down. Each time we use the $-symbol, we are using abilities provided by jQuery. The code toggles the big-photo class on the clicked element. $(element) is a reference to the clicked element. So the code adds the ‘big-photo’ class to the clicked element, or removes the class if it was already added.
Lets finish this feature by adding the onclick="expandPhoto(this)" attribute to any <img> element. This will call the given function every time the element is clicked. The element will then look something like the following:
<img class="album-photo" onclick="expandPhoto(this)" src="cat.jpg">
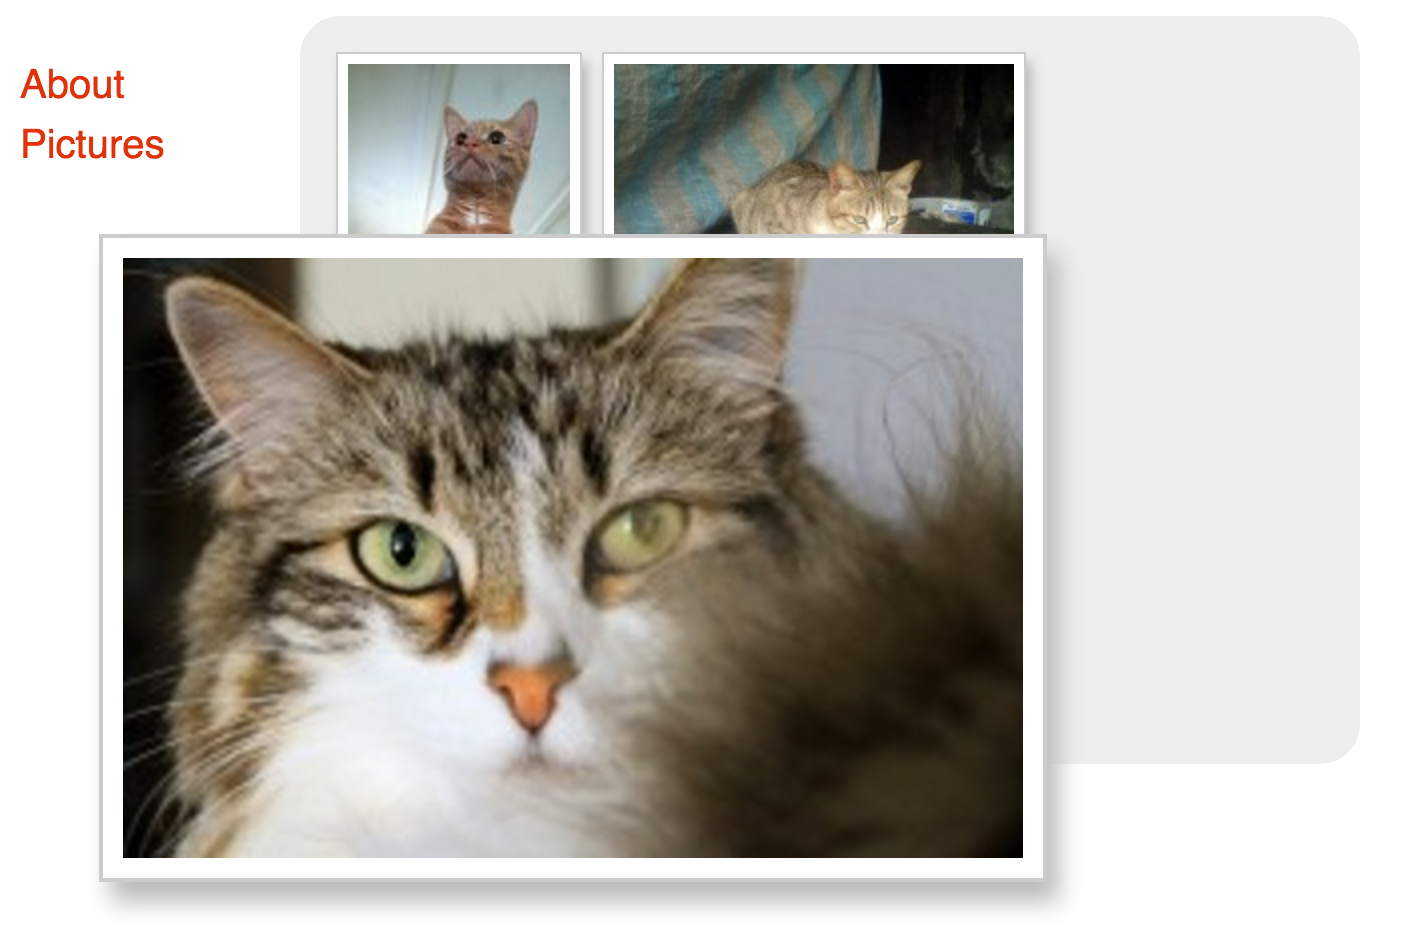
Please try clicking the photo where you added this element and the picture should expand.

Automatic interaction
We can use javascript to add the feature to expand on click automatically to each picture we have in the album. It can be done in the following way with jQuery:
$(function() {
  $('.album-photo').click(expandPhoto);
});
This code adds the click-interaction to all elements which have the album-photo class. Notice how the .album-photo part on the second line looks exactly like the one in the CSS file? You can use all the same selectors in both CSS and javascript!
We also need to change our expandPhoto function slightly. Make the start of the function look like the following:
function expandPhoto() {
  var element = this;
After this is done, you will no longer need the onclick attribute in pictures.html any longer, and you can remove that. Go ahead and click around!
